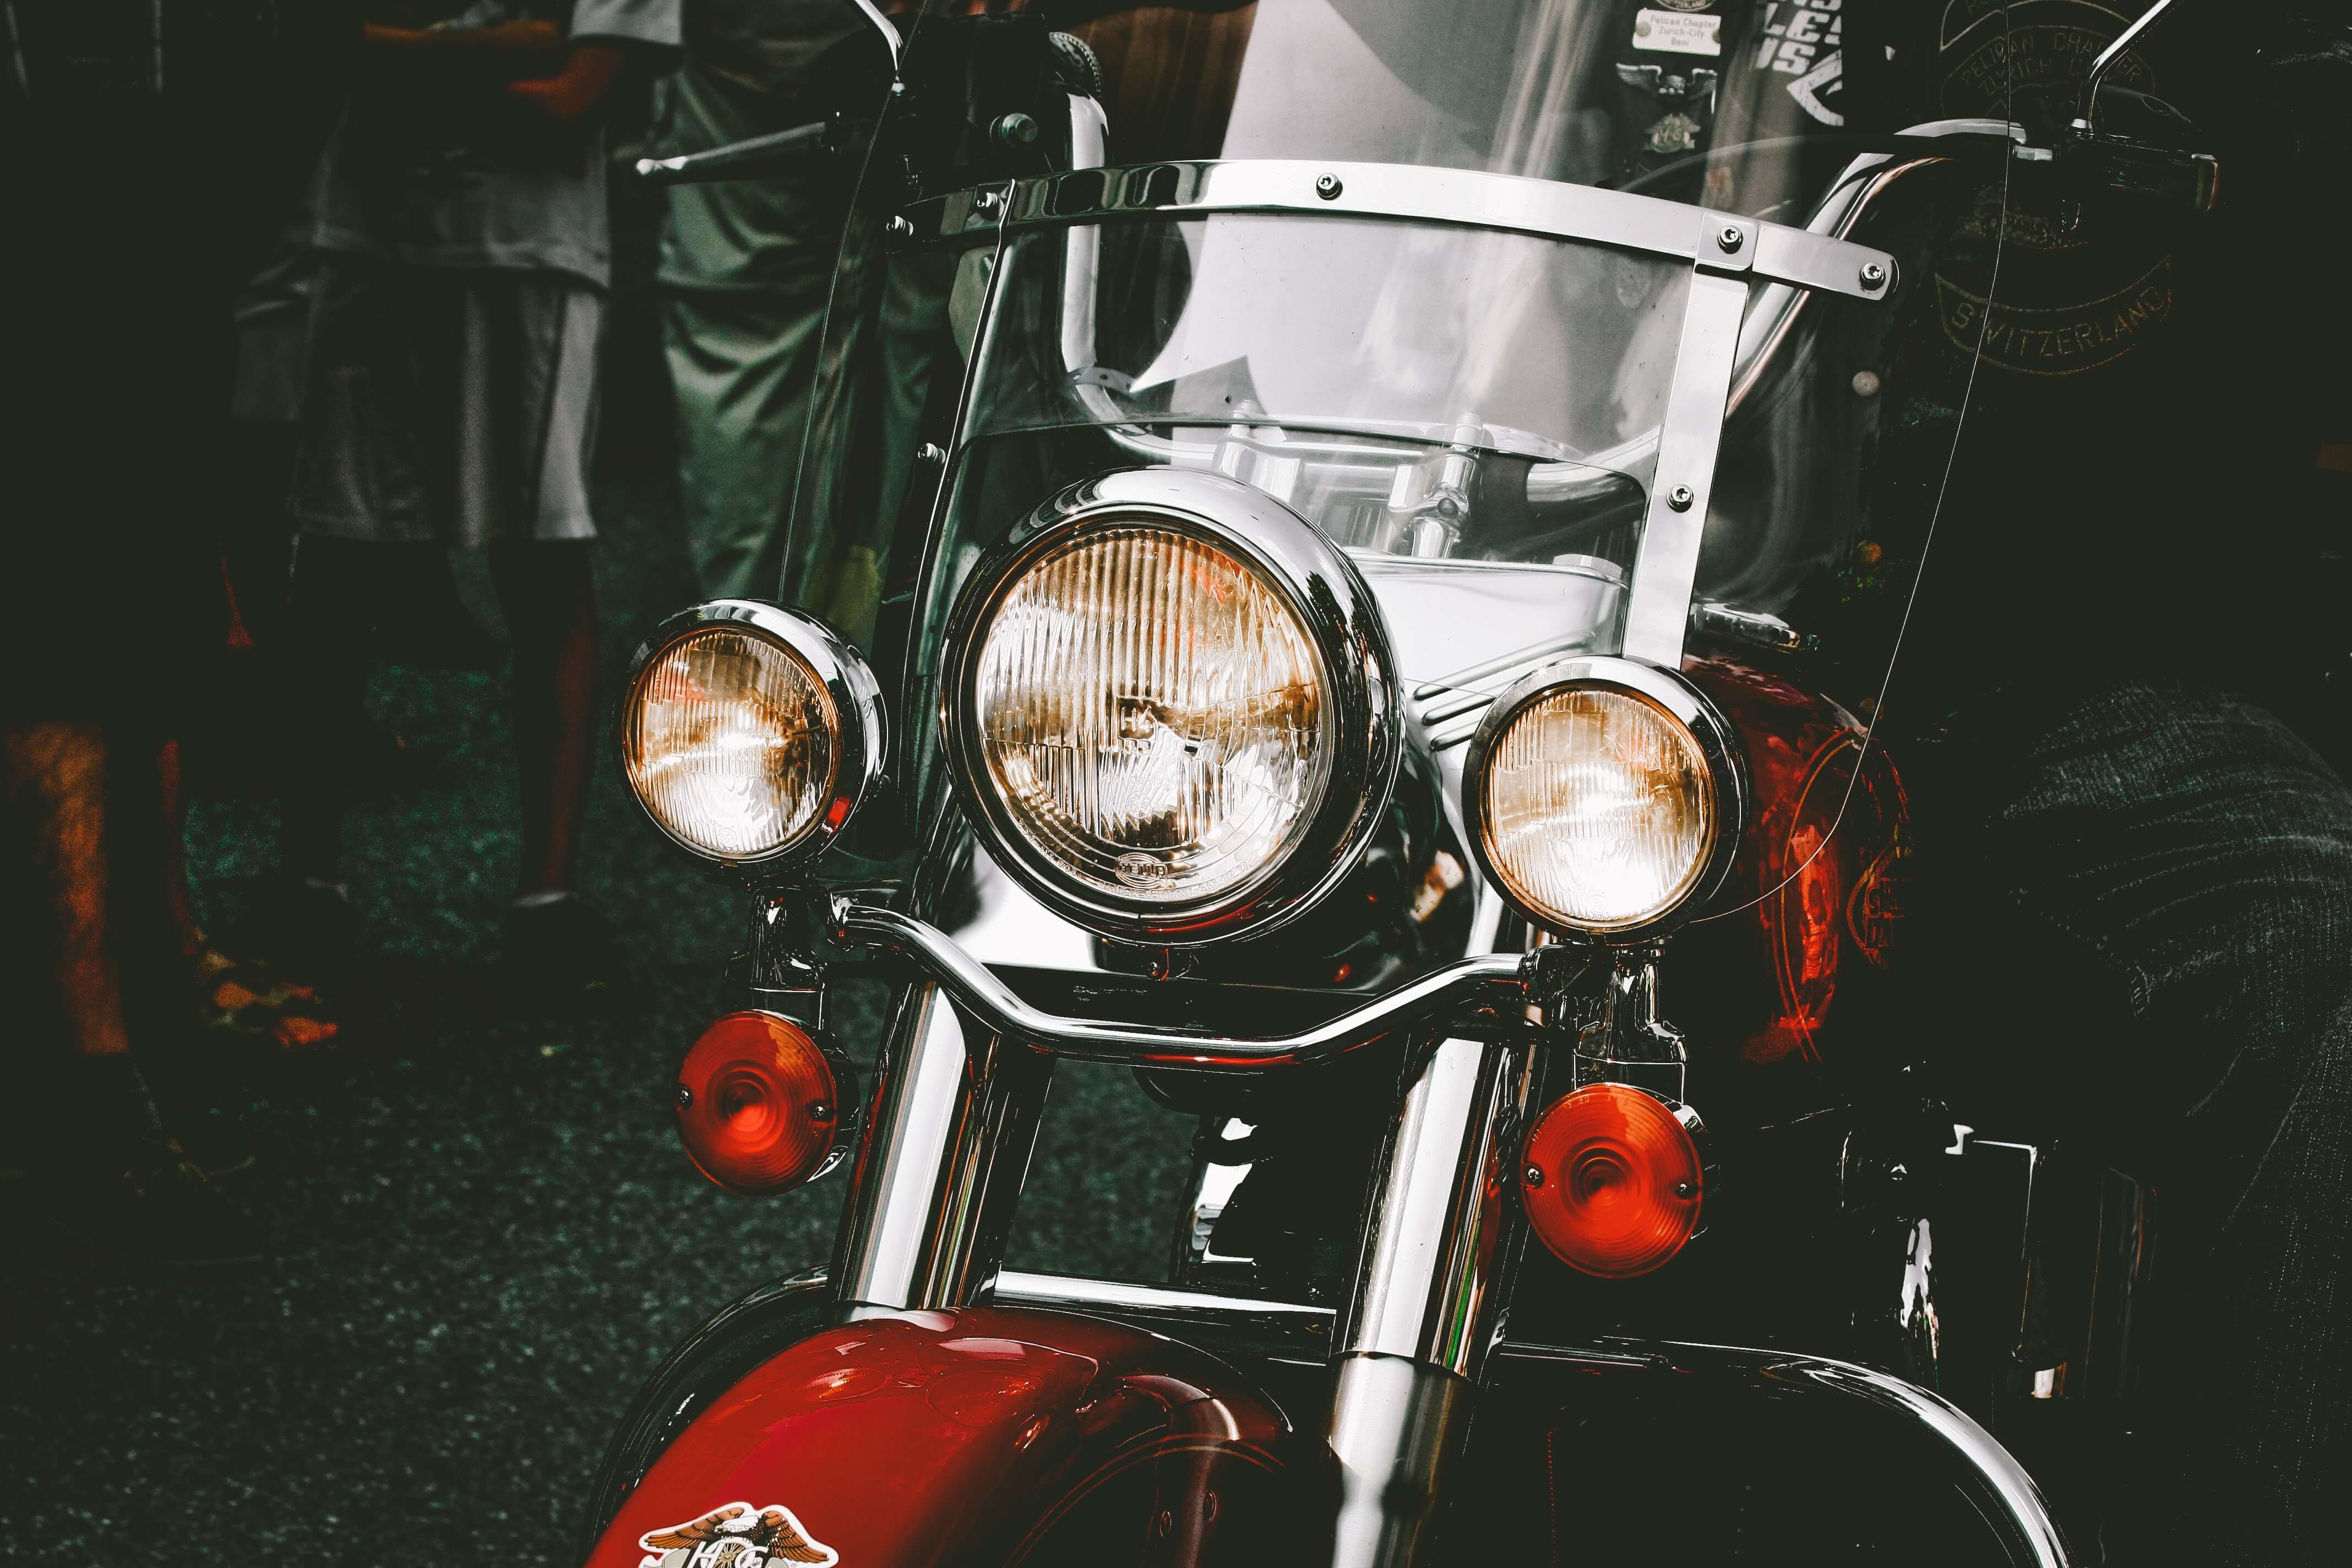
Hello everyone, fans of motorcycles! Have you ever thought about changing the turn signals of your motorcycle, but in the end you didn't do it out of fear or indecision?
Today we are going to explain everything you should know and take into account before changing the turn signals to your bike and how you should do it step by step so you do not have any problems. So without further ado, let's get to it!
Things you should know before changing the turn signals of your motorcycle
Before explaining how to change the turn signals of your motorcycle, it is very important that you know several things about the regulations of the indicators, so you do not have problems when you change your turn signals. That's why we are going to make a series of frequently asked questions so when you decide to change the turn signals you have everything very clear and you save yourself any problem or fine.
Is it mandatory to use approved turn signals?
It depends. If you install a non-approved motorcycle turn signals, it is complicated that you get a fine or have problems, although it is a possibility. But be clear that you will NOT pass the ITV.
So it is not mandatory and surely you will not have problems to circulate with your bike with a non homologated turn signals, but you will have problems in the ITV. People who know how to change them perfectly circulates with the non-approved ones and when they go to pass the ITV they put back the standard ones to pass it and then put back the non-approved ones.

How do I know if the turn signals are homologated?
To know if a turn signal is homologated or not it is simple, you only have to see if it has inside a circle a capital E with a number, which does not matter, since this number only marks the country of origin. So if you are looking for new turn signals for your bike, we recommend that you take a look at our Puig turn signals, as the majority are fully approved.
Steps to follow to change the turn signals of your motorcycle
Having said all this, if you have come this far it is because you have finally decided and you are going to change the turn signals of your motorcycle. We'll explain how to change the turn signals on your bike step by step:
- First of all, examine very well the wiring, take note of the positive and negative and how many more wires your bike has. The ground or earth wires are usually brown or black. Having a 3-wire configuration allows it to function as a reverse light when not active. If the original turn signals have only 2 wires, the third wire will not be necessary for the operation of the new turn signals to be mounted. Normally, the wires are color coded to make it easier to assemble and disassemble, but if your bike does not have colors, from acmotos.com we recommend that you put tape of different colors so you do not have problems when mounting them.
- When you have the wires under control, the next thing to do is to disconnect the wiring from the turn signals that are currently mounted. If your bike's turn signals are connected through a connector, cut off the male and female ends and remove the connector from the wiring. If you don't need to use the third wire, seal it with electrical tape by removing the shielding from the remaining wires with a wire stripping tool.
- If you don't need to use the third wire, seal it with electrical tape.
- Once the previous step is done, connect the negative and positive wires to the corresponding wires of the new flasher, each of them with its connector. If its possible in your case, connect the installation cable to the corresponding cable of the new flasher with a connector. Hook or position the connectors and install the new turn signal on your bike.
- And finally, once you have carried out the above steps and you see that the turn signal works perfectly, do the same with the turn signal on the other side. And you will have your new turn signals installed.

