

Changing a motorcycle battery is one of the most frequent maintenance tasks encountered with a bike. Whether it's because it has been sitting idle for a long time or you've excessively used it leading to start-up failures, changing the motorcycle battery becomes a necessity.
In this article, we are going to teach you how to change the battery yourself. This way, you can purchase whichever motorcycle battery you prefer on your own and replace it without needing help from anyone. Let's delve into how to change a motorcycle battery.
What tools do I need to change my motorcycle's battery?
To change the motorcycle battery, in addition to a new battery, you'll need a wrench, a set of keys, and a screwdriver. For protection, you might consider using gloves and safety glasses to ensure you work safely.
Removing the old battery
As you might imagine, before installing a new motorcycle battery, it's essential to remove the old one. The first thing you must do before taking out the battery is to make sure your bike is turned off. With the motorcycle off, you can begin to dismantle the battery. Locate the battery with the help of your bike's instruction manual; in some models, it's located beneath the seat, while in others, it's in a box in the chassis.
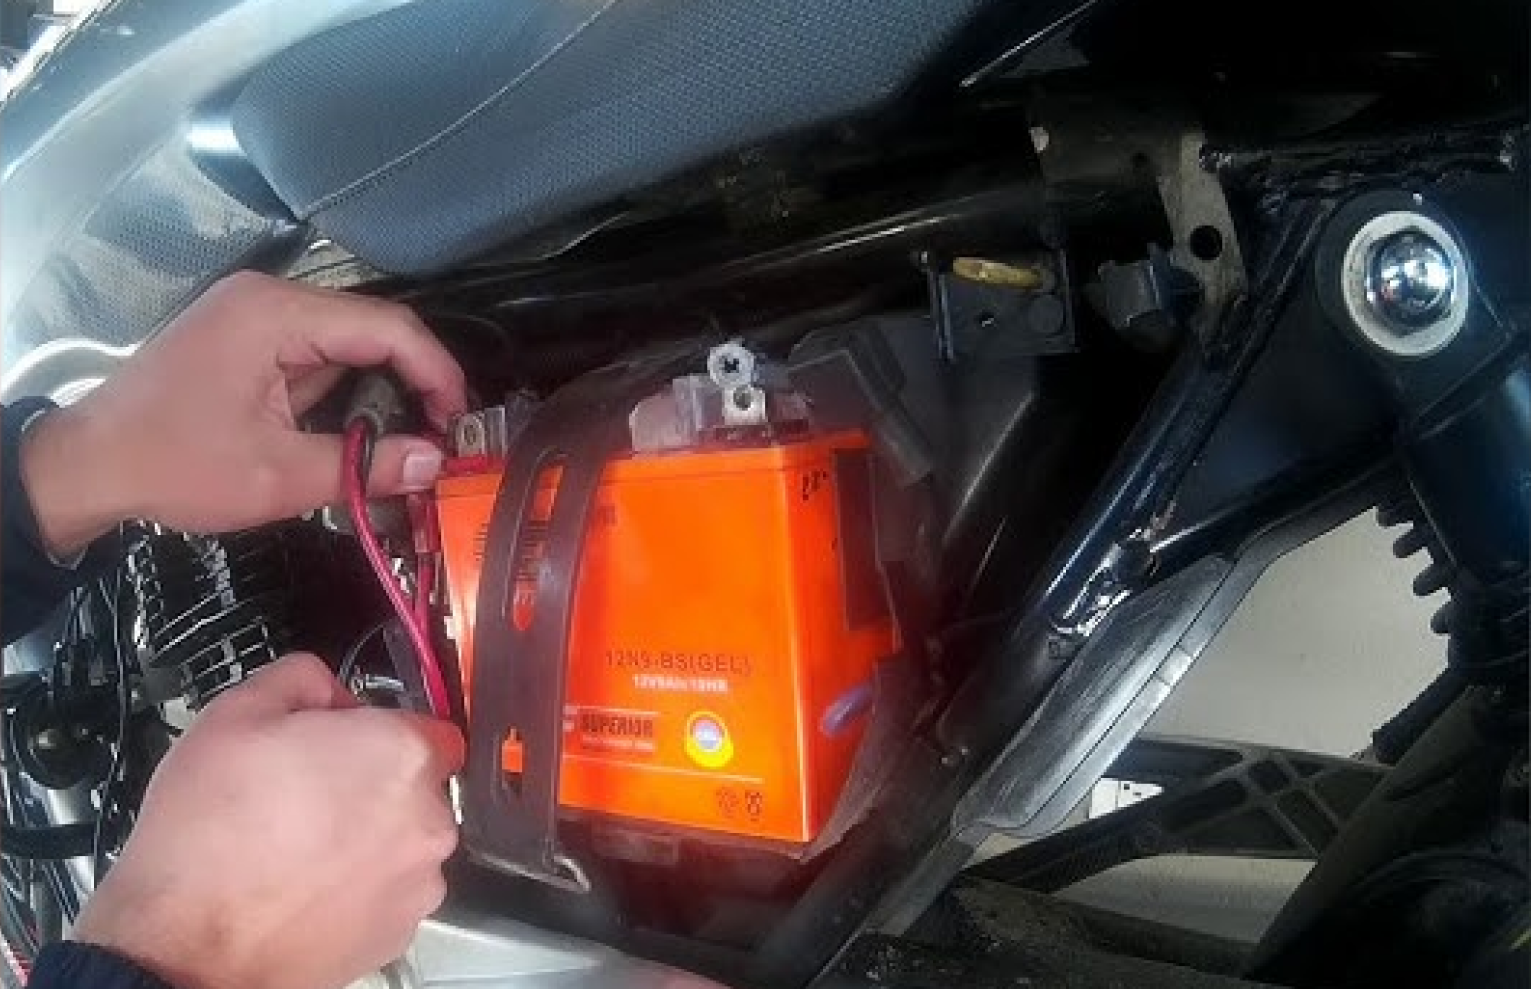
Once you have located the battery, it's time to disconnect it. Here, you should loosen and remove all cables connected to the old battery, removing the negative cable first, which is black, and then the positive cable, which is usually red. It's crucial to follow this order to avoid short circuits.
After you've disconnected all the cables, carefully remove the battery. With the battery out, it's an excellent time to clean the area. You can also perform this process if you wish to clean the old battery. If there's any rust in the compartment, a small amount of baking soda mixed with some warm water can be used to create a soft paste which can then be used for cleaning with a brush.
Installing the new battery
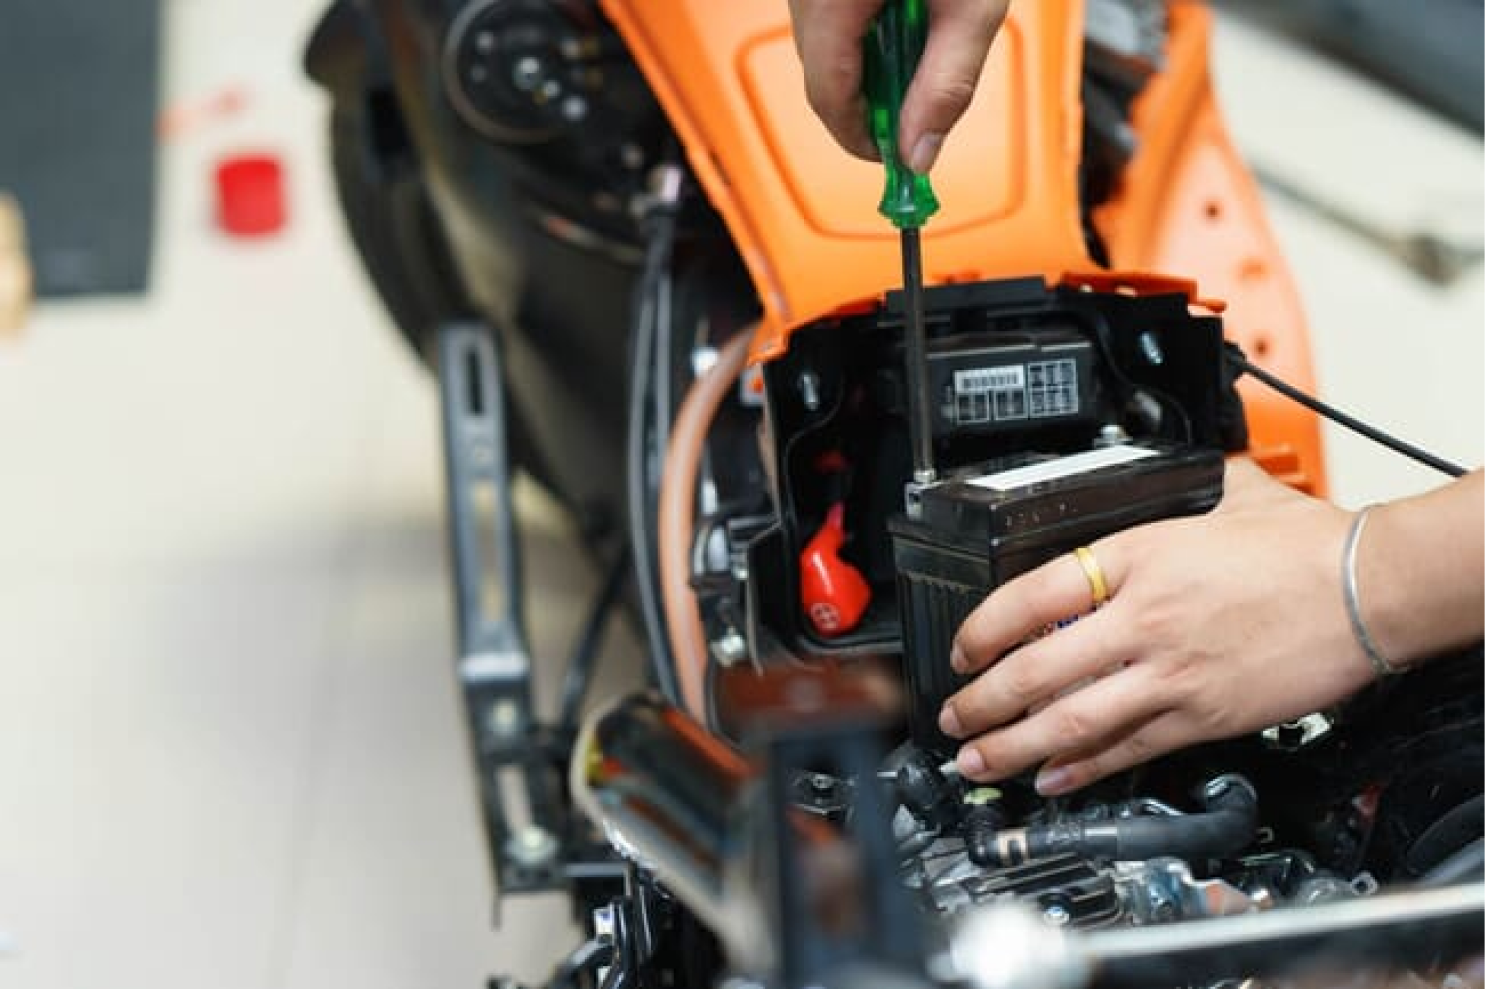
Once the area is clean, it's time to insert the new motorcycle battery. At this point, you should essentially reverse the previous process, meaning, place the battery in the same position as the old one, including any brackets or fasteners, and proceed to connect the battery.
When connecting the battery, first connect the positive cable, followed by the negative one for added safety. After setting it up, make sure the battery is firmly in place, all cables are properly connected, and nothing is left loose. Once everything looks right, you can turn on the ignition before closing the compartment to verify that the motorcycle battery replacement is successful.
If the battery responds well, you can then carefully close the compartment. As you can see, installing a motorcycle battery is a straightforward process without any complications. Follow each step carefully when changing your motorcycle battery, and you shouldn't encounter any issues.
Can I use any battery for my motorcycle?
It's essential to know that not just any battery will work for your motorcycle. Motorcycle batteries come in various sizes, types, and capacities.
To make the right choice when buying your motorcycle battery, you must be clear about your motorcycle's model. You can consult your motorcycle's instruction manual and, if in doubt, ask when you go to purchase. Make sure you are buying a compatible battery before making any changes.