Hello everyone, motorcycle fanatics ! Surely some of you have ever thought about changing the color of your bike to give a unique and personal touch, but the cost of it was too high and has pulled you back.
And that's why we are here today, we are going to explain you how to prepare and protect the area where we are going to work and how to paint your bike step by step. So grab paper, pen and a brush and let's get started!
Preparing and protecting an area of your house for painting your bike
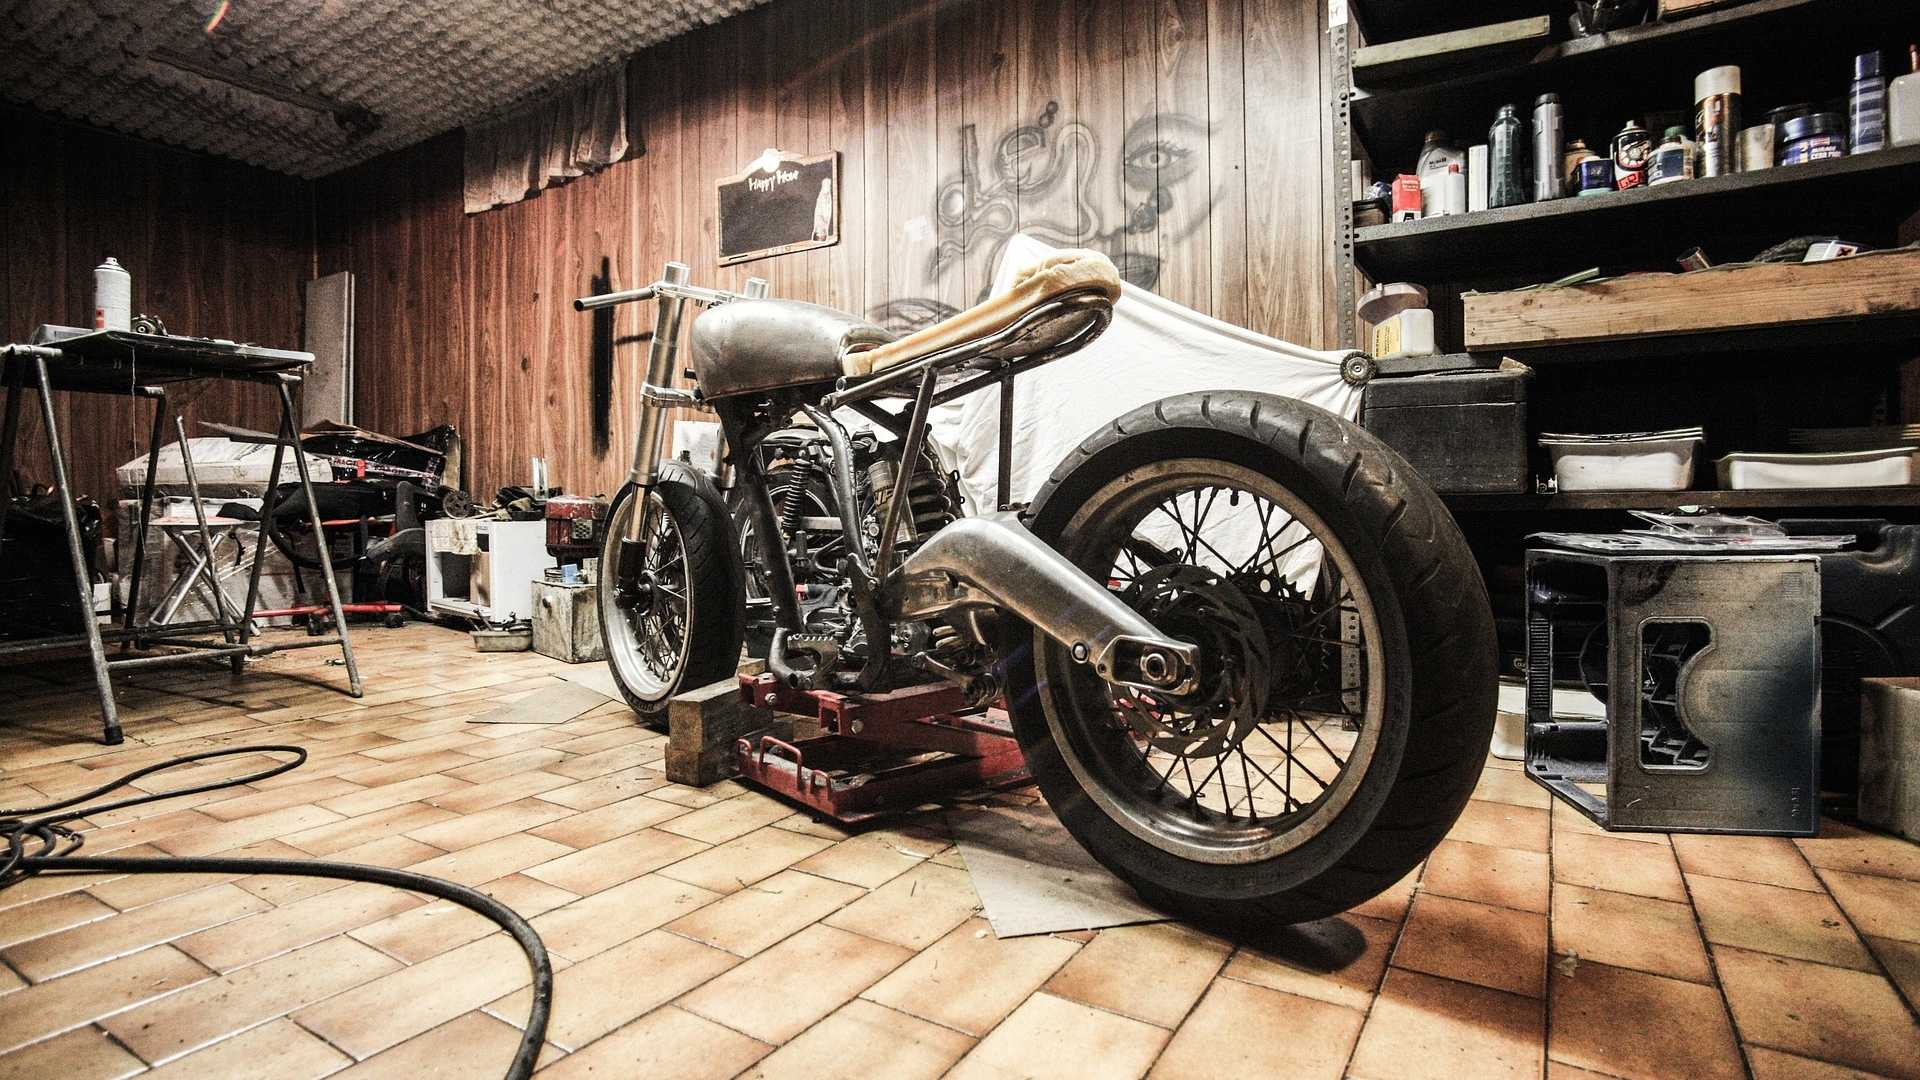
First of all you must choose the area or place where you are going to paint your bike. Obviously we recommend that you do it in a large space and where you can not spoil anything around. The best options are usually in a warehouse or garage.
Once we know in which place we are going to work, we will prepare and protect it to try to stain as little as possible that space. For this you will have to carry out the following steps:
- The first thing you must do is to protect each and every one of the walls of the space where you are going to paint your bike. We recommend that you cover them with plastic sheeting and use masking tape to secure both the top and the bottom so that it does not fall, move or lift.
- Once you have done this with the walls, you should do the same with the floor, in order to leave the whole space well protected.
- If the place where you are going to paint your bike is poorly ventilated, we recommend that you put a fan to expel the vapors generated by the paint, because in large quantities could be harmful.
- And finally, if the space where you are going to paint your bike doesn't have much lighting, we recommend that you add additional lighting, such as a lamp that illuminates well. It is very important that you can see perfectly what you are doing so the result is excellent.
How to prepare your bike for painting?
The first thing you will have to do to paint a motorcycle at home is to disassemble and remove the components or part of the bike that you want to paint. Normally we usually start with the tank because it is relatively easy to disassemble and the surface to be painted is quite large and flat and therefore it will be easier for you.
Therefore it is very important that you have all the material and tools necessary to disassemble the parts you want to paint: Allen key of various sizes, a ratchet, a Phillips screwdriver and a flat screwdriver.

And finally, once disassembled and separated the parts we want to paint, we must sand them to make them as smooth as possible, but when we apply the paint will not catch it at all well and we will see a strange layer of paint and not a smooth layer.
Once explained above and quickly what we must do, then we will explain how to do all this step by step so that there is no doubt:
- Rub with the sandpaper the metal surface with circular movements so as not to spoil it, until you remove all the old paint you want to remove.
- Once the surface is perfectly sanded, you must clean it very well so that there are no specks of dust or particles when painting your bike.
- When it is well cleaned, you must apply a coat of putty on the surface you just sanded. What you will get with this is to work and paint on a smooth and level surface. This putty hardens very quickly, so we recommend that you do it slowly and put small quantities of putty.
- Once you have applied the putty correctly and has dried, which can take about an hour, you must sand it again to leave the parts or parts of your bike ready to be painted. If when you go to do the second sanding you are not convinced by the result, you can repeat the process again, put putty and wait for it to dry, and once it has dried sand it to make it perfect to be painted.
- Once this is done, your bike is ready to be painted, so let's go with the next and last point, painting your bike.
How to paint your bike
And finally we have come to the part we have all been waiting for, and that is... How to paint your bike! So let's not mess around and we'll explain everything you'll need to do to paint your bike. Let's get started:
- The first thing you will have to do is to take the primer and mix it with a hardener. We recommend that when you go to buy the primer, in the same store ask if the hardener is necessary or not, and if necessary, which one you need with the primer.
- Once it is well mixed, you must apply a layer of the primer and hardener mixture, to protect the metal and take well the paint that we will apply later. Once the first coat is applied you will have to let it dry. The drying time usually comes as a recommendation in the same package of the primer.
- Repeat this step as many times as you think necessary to get the best possible result. Once this is done let your bike dry.
- And finally, once it is completely dry, you can paint your bike as you like.
- Once painted, you will only need to apply a coat of lacquer or varnish to make it shine and sparkle like never before.

