Summer is coming to an end, but that doesn't mean your motorcycle rides have to. Enjoying your bike in the cold is as simple as installing one of the most highly rated accessories from CustomAccess, heated grips.
At ACMOTOS, we care about ensuring our customers always get the most out of their motorcycles, which is why in this article we are going to show you how to install heated grips on your motorcycle step by step to make your ride much more comfortable.
Do I need help installing the heated grips?
Any user can install heated grips on their motorcycle without assistance. Typically, these heated grips come prepared by the manufacturer to ensure a simple installation, so you won't need any professional help.
If you're not confident about how to install heated grips, your trusted mechanic can do it in a matter of minutes. From here, we believe it's something you can spare, as you won't need anything special either.
What do I need to install heated grips?
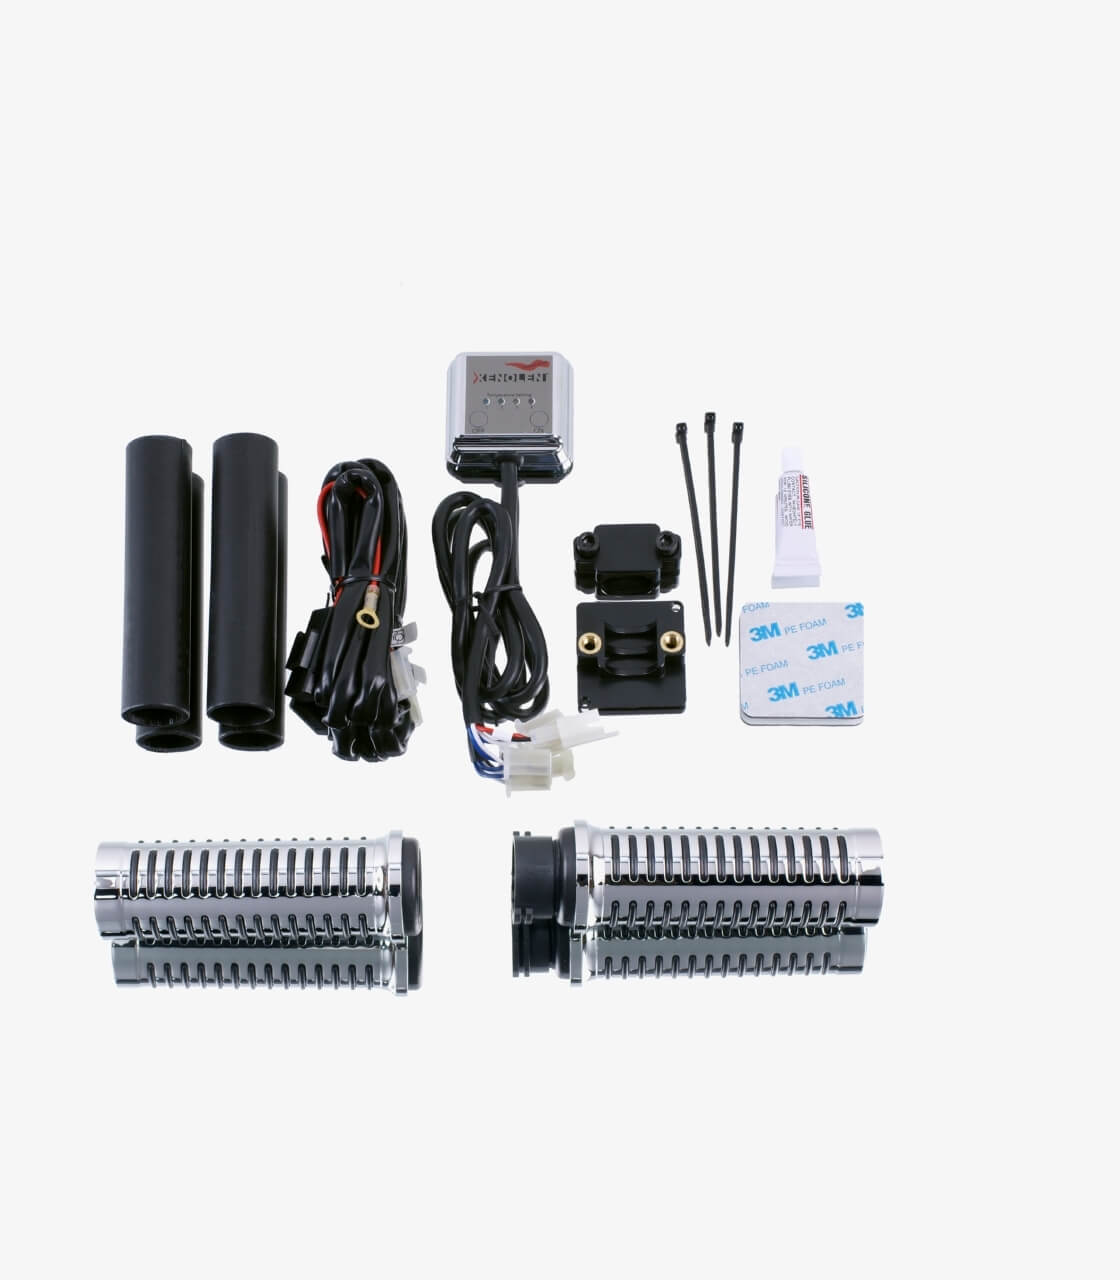
You'll need basic tools like a screwdriver or Allen wrenches, essentially anything you might need for a regular installation on your bike. Typically, heated grip kits come with adhesive tape or glue. If your kit doesn't include it for some reason, you'll need to get some.
.png)
Installing heated grips step by step
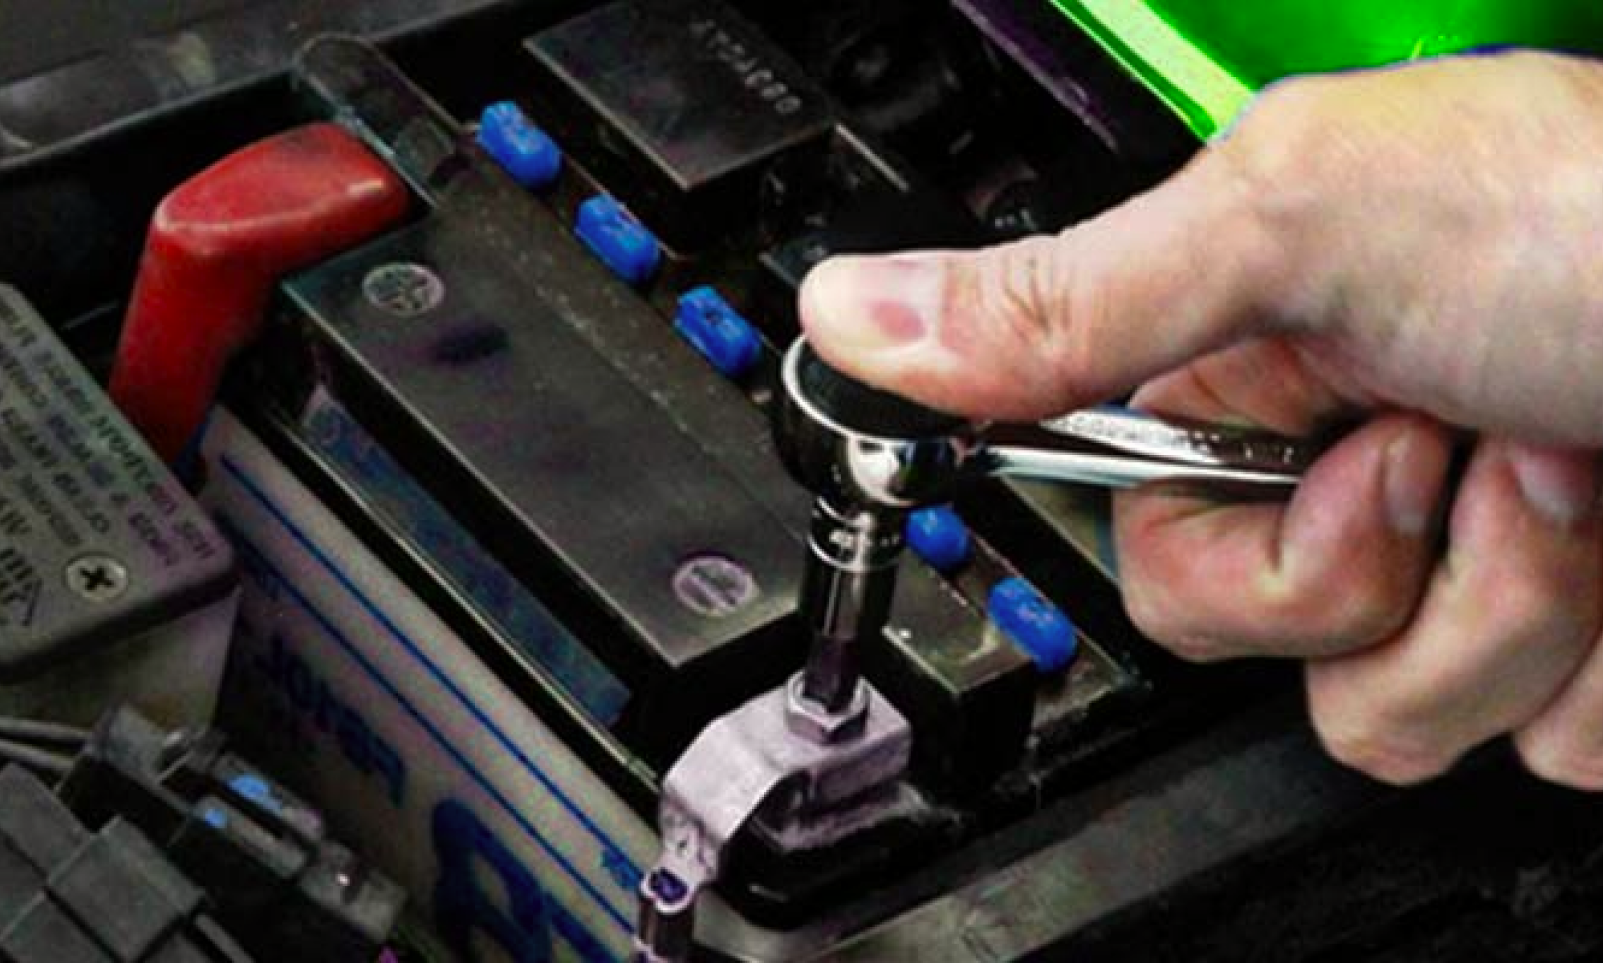
- The first thing you should do when installing heated grips on a motorcycle is to remove the seat. As you can imagine, heated grips need power to work, so you'll need to get it from the motorcycle's battery.
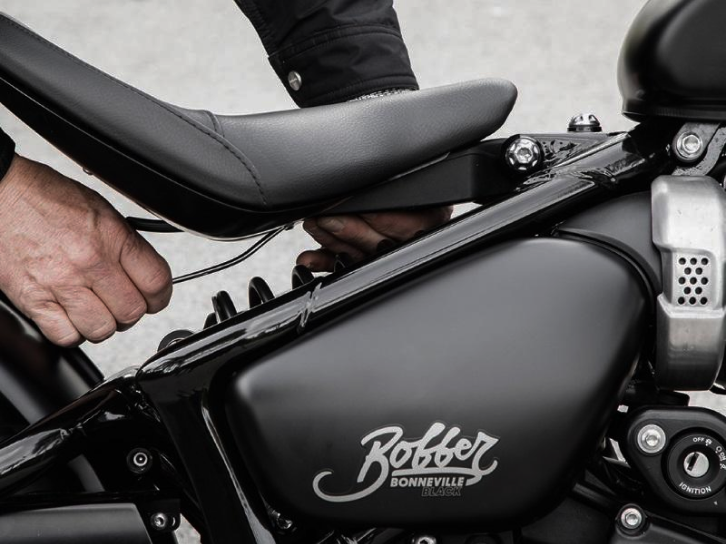
- Disconnect the battery and connect the poles of the grips, the black and the red. Once you've done that, replace the protective cover if you had removed it to access the battery.
- Now that you know where to connect the heated grips, as you can imagine, the next step in how to install heated grips is to route the wiring of the grips towards the front of the motorcycle. To make this step easier, we recommend following the rest of the wires that go to the front.
- Your heated grip kit will come with zip ties that you should use later to ensure the cables are securely fastened. Be very careful when positioning the cables; they cannot get snagged on anything, pinched, or hinder any handlebar movement.
- The next step is to remove the motorcycle's grips. This can be one of the trickier moments given the simplicity of the previous steps. To help, you can insert a flat-head screwdriver to pry the grips off. Depending on how they're adhered, this process may take more or less time.
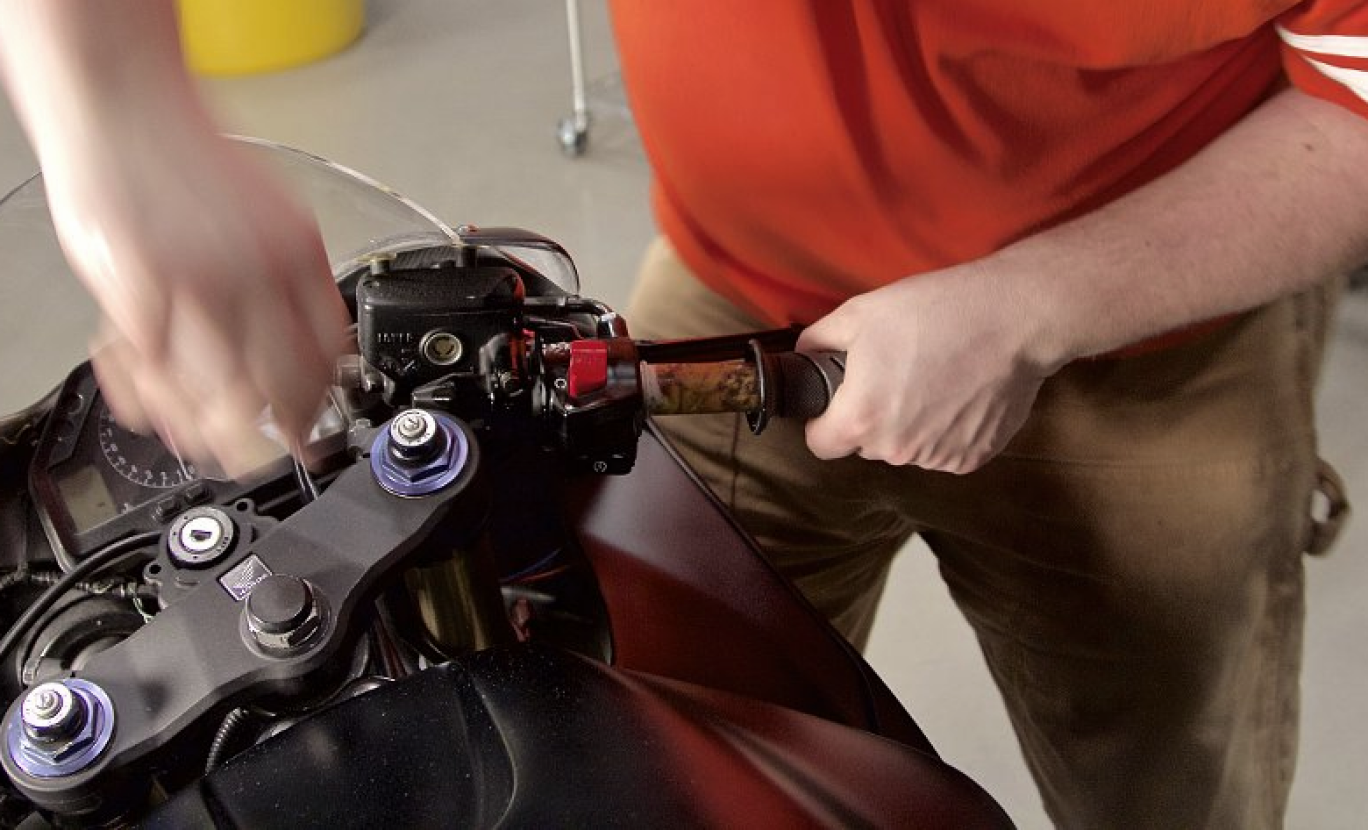
- Once you remove the grips, the next thing to do regarding how to install heated grips is to position the control unit or switch of the grips themselves. It's crucial to place this in a comfortable spot that doesn't interfere with driving and is easily accessible.
- The purpose of this control unit is to turn the grips on or off and adjust the temperature. Depending on the grip model, it may vary in design. Test various positions before securing it to find the most comfortable spot and once you're sure, fix it in place.
Placing the heated grips
Finally, the step we've all been waiting for since the start of the heated grip installation process, the actual installation. Apply the adhesive that comes with the kit to the inside of the heated grips and attach them. If the kit doesn't come with adhesive, you'll need your own, as it's essential for a secure fit.
Make sure to position the throttle grip on the right side. If they're hard to fit, you might need to sand down the handlebar slightly. Comfort is a crucial factor to consider when installing them. Place them so they don't interfere with any other controls, like the throttle or brake. Conduct all necessary tests to see how comfortable they are before finalizing the installation.
Once you've positioned the grips permanently, the only thing left on how to install heated grips is connecting them to the battery cables. Tape the cables well so they don't bother you and use the zip ties. Ensure no cables are in the way or touching anything, and you'll have the heated grips ready to use.
